Creation of customer
Every customer or a bigger organization unit of a larger company in CM should be added as a customer into the List of customers. A customer in CM is a unit, to which you can assign operators, perform various technical and organizational settings, which will be inherited at registration of new computers assigned to the given Customer.
New customer can be added by a maintainer, or by any operator. But only a maintainer can assign the customer to an operator.
There are two ways to add a new customer:
1. Accelerated creation of customer
2. Classic creation of customer
Accelerated creation of customer
This type of creation of new customers is faster and more comfortable, required are only the fields Company or Name of customer and email, addition of which may even be disabled. After just entering these information, it's possible to save the customer to the list of customers. A new feature is an option to add contacts to companies and direct searching in the contacts when creating a new customer, to prevent duplicate records.
Nového zákazníka cez zrýchlený formulár môžete pridávať na dvoch miestach
Creation of customer through the accelerated form can be done on two places:
- In the list of customers
- In a new request
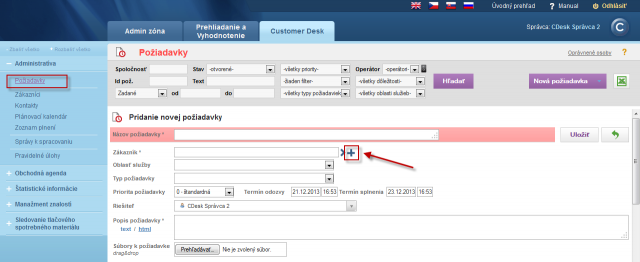
1. In the section Customer Desk -> Administration -> Customers, as displayed on the following image, is a list of all registered customers or persons. For quick creation of new customer, just press the blue "+".

The form for accelerated creation is also available directly in request , symbol of the blue "+" next to the field Customer.
After clicking on the blue plus, the form for accelerated creation of customer will open.
In its right part is a list of already created contacts, where you can easily find out whether the customer or contact you're about to create has already been created thanks to the search option.
If the customer doesn't figure in the database, you can create him by filling data in the left part of the form as displayed on the following image.
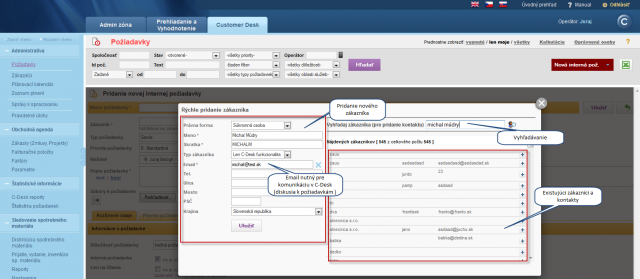
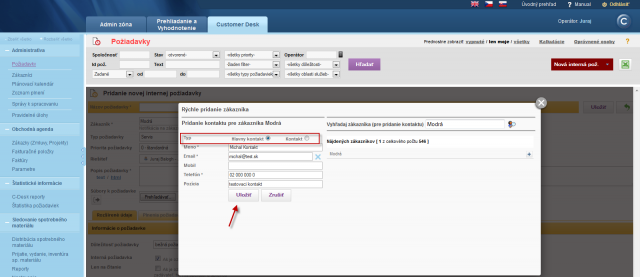
Into the list of customers may also be added private persons or companies. For communication with the customer through C-Desk, it's necessary to add an email at the registration for a private person, as displayed on the previous image, and for a company it's necessary to create a contact, which receives emails from communication and events in C-Desk. C-Desk distinguishes two types of contacts - Main contact and contact. A Main contact receives copies from communication in C-Desk from all customer's requests, a contact only receives copies of communication from C-Desk requests, which he is assigned to.
At registration of a company, after filling the required data, you'll be automatically prompted to create contacts for the customer, as displayed on the following image.
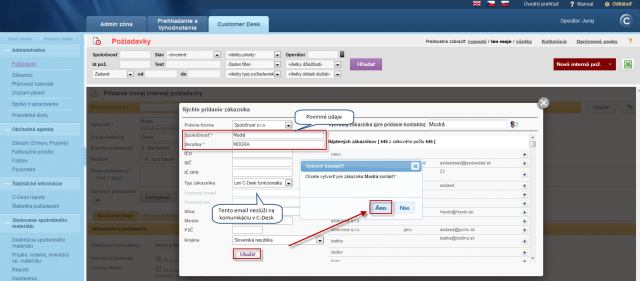
Creation of a contact is displayed on the following image.
Classic creation of customer
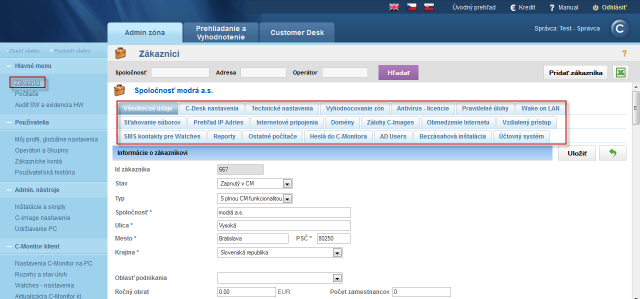
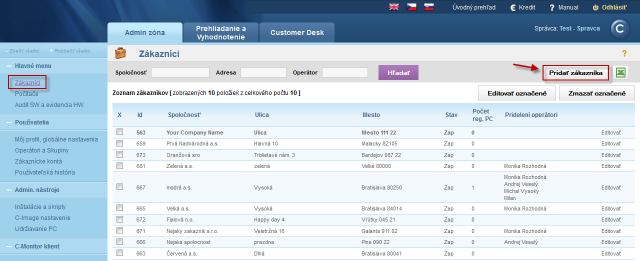
A customer's company is added in the section Admin zone -> Main Menu -> Customers by pressing the button Add a customer. To successfully register a customer, you have to fill the items marked with an asterisk.
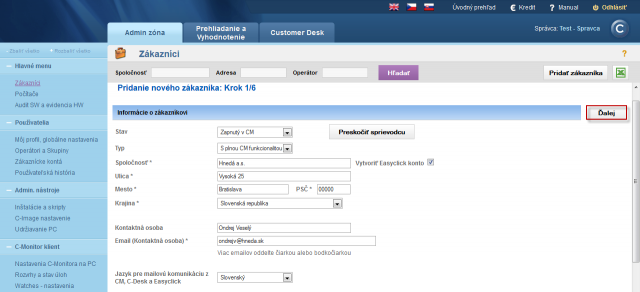
In the first step you fill the basic information about the customer, his contact information and a contact person's email.
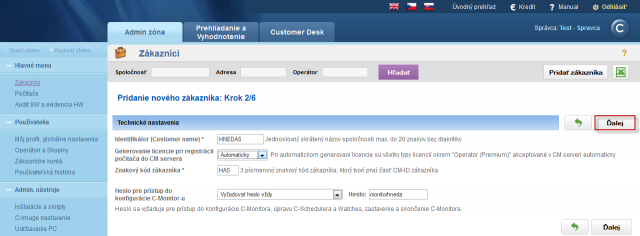
In the next step you may choose to keep the default settings, except if you want to have the C-Monitor client's settings on the customer's computers secured by a password, so the users can't change them, we recommend to set a C-Monitor access password.
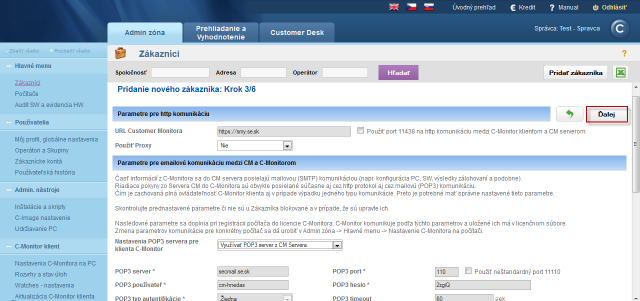
In the third step, you cas set POP3 and SMTP server for communication between the CM Server and C-Monitor client, there are already default settings available, which we recommend you to keep
Most information is sent by email from the C-Monitor client. For instance information about computer configuration, installed software, logs from backups etc. Reception of messages into C-Monitor client has recently been doubled and all small-size information are delivered by both http and email (POP3). For larger messages, such as C-Monitor updates, Installation packages, is the type of communication prompted, in order to avoid an unnecessarily large transfer.
Messages from C-Monitor are sent through a commercially available SMTP server, and you have an option to use two SMTP servers in case one would be unavailable. C-Monitor receives messages from the CM Server through a POP3 mailbox (with an assigned address), into which the CM server sends messages. This works the same as any other mail client supporting the POP3 protocol, but the difference is that the same POP3 mailbox is used for all customer's computers. C-Monitor just takes his message out the mailbox and keeps the others. For computers that can't use a joint mailbox, there's a supported option of the CM Server to send messages of selected computers to another mailbox.
To make the configuration easier, Customer Monitor offers you a custom SMTP and POP3 server, which is defined automatically and doesn't need to be configured on your servers.
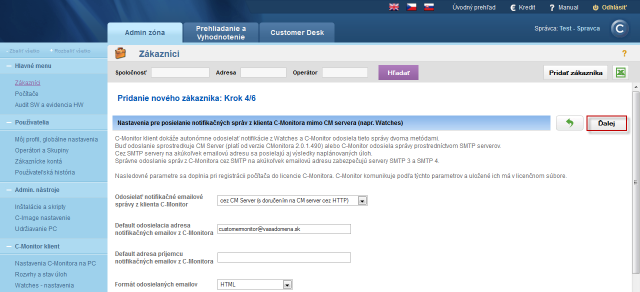
In the next step you can change settings for sending of notification messages from the C-Monitor client from elsewhere than the CM server, such as watches.
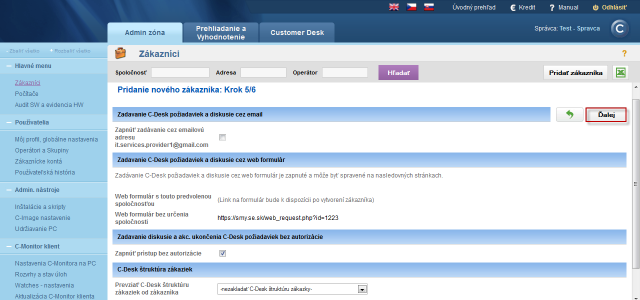
In the fifth step you may enable entering of C-Desk requests and discussion by email, read more information about settings of entering of C-Desk requests at To CM Server by email.
Very important is the setting of Entering of discussion and accepting completion of C-Desk requests without authorization. By enabling this option, the creator of request will be able to, even without a valid CM account, add discussion comments, accept completion of the request and add rating of the operator even without login to CM portal.
In the last step you add an operator, who will be responsible for solving the customer's requests.
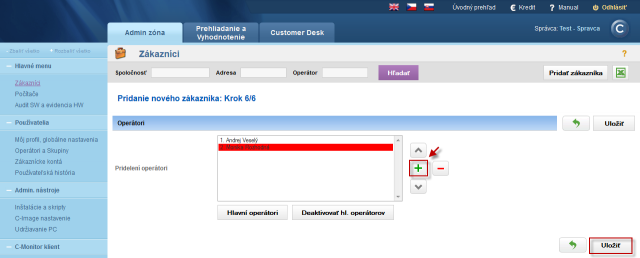
Then press the button save, by which you confirm the creation of new customer, more detailed settings for a concrete customer can be adjusted in the section Admin zone -> Main Menu -> Customers -> Concrete customer -> Edit, as displayed on the following image.
