Installation
The current version for Installation and Update of MAC OS X C-Monitor client can be always found in the section Download.
The installation is carried out through a standard .PKG package. For Mac OS X, installations are often performed by distributing the program directly in the form of application package, which is copied to the selected place, usually to /Applications. We've decided not to use this option, because C-Monitor client is a system application and it needs to be registered as a service, and is constanly running in the background, for which we need to copy files into system directories
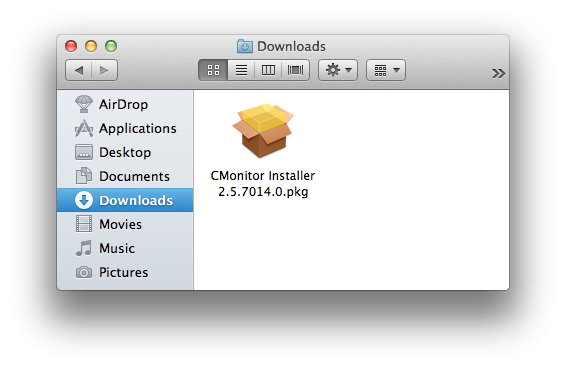
The installation is launched by double-clicking on the package file, which is displayed on the next image, and it consists of several steps.
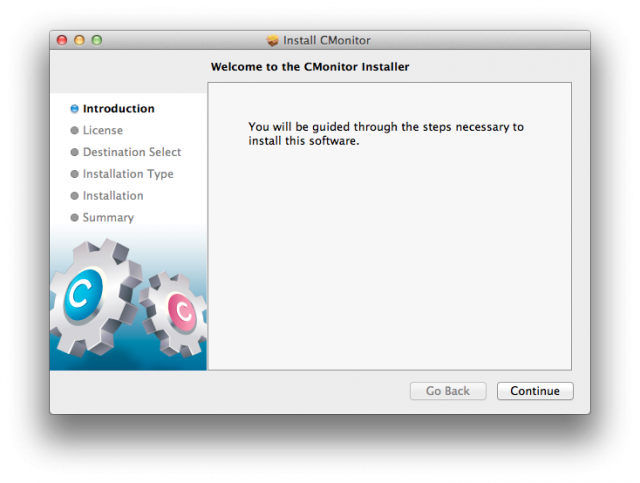
In the first step of the installation, it's necessary to enter login data of a user with admin authorizations.
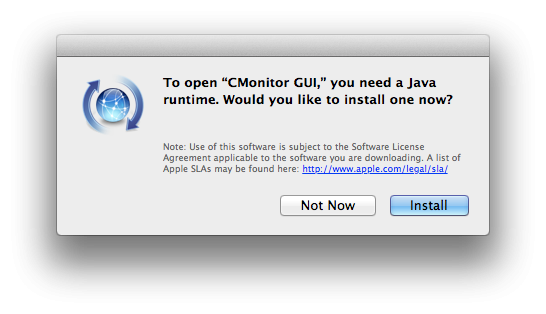
Mac OS X since version 10.7 and higher, doesn't contain standardly pre-installed Java. After C-Monitor client installation, the Java installer will run automatically. If it doesn't start for any reason, you must log out the user, and then login again.
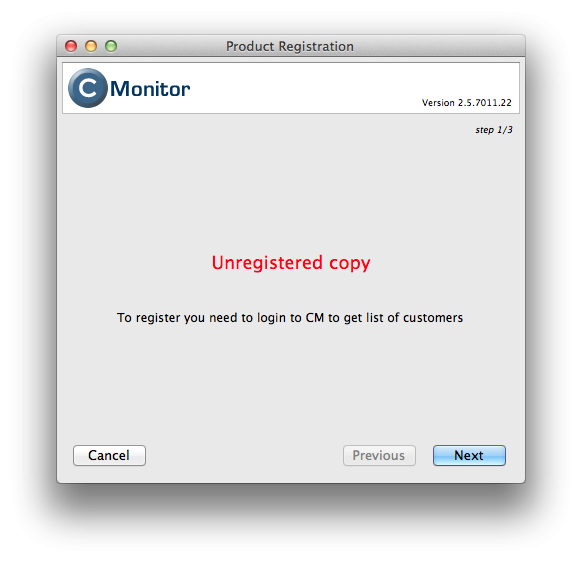
If there's not yet a valid C-Monitor license on the given computer, then the registration process will run automatically after the installation is completed.
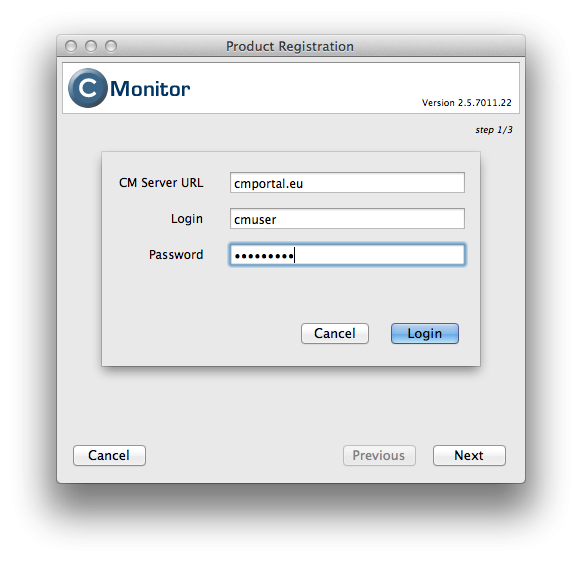
The registration runs in three steps.
After the initial screen, you must enter login information to the CM sever, where the C-Monitor's installation is going to be registered.
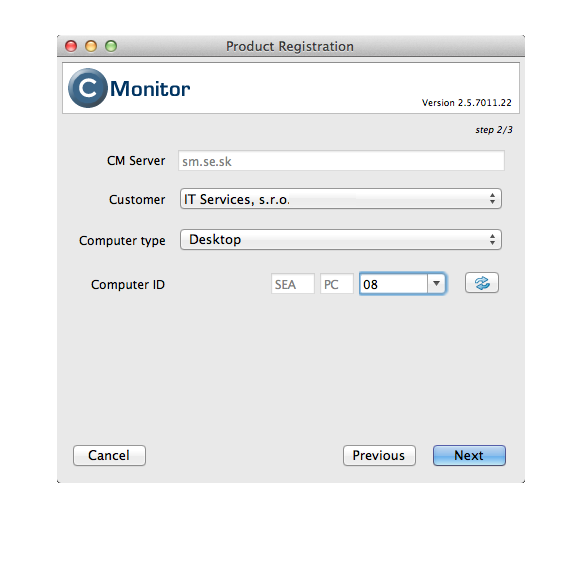
In the second step, you'll select the customer and the computer's designation (CM-ID) .
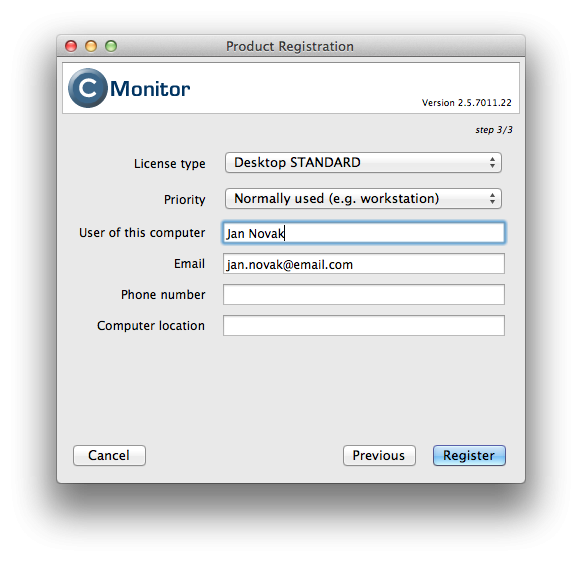
In the third step, you'll fill out additional registration information, such as user name, email, tel. contact etc.
When the registration is completed, it's good to verify the function of communication between the C-Monitor client and the CM server.
Correct communication can be verified either by looking into C-Monitor's logs, or through CM portal.
1. Verification of functional communication by looking into C-Monitor client's logs
The log files are saved in the directory /var/log/cmonitor. To view these logs, you may use the application Console.
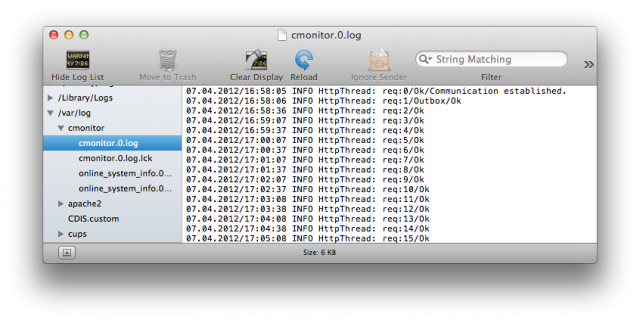
If the communication is functional, the log displays messages such as:
22.11.2010/17:29:56 INFO HttpThread: req:1/Ok
22.11.2010/17:30:02 INFO HttpThread: req:2/Ok
22.11.2010/17:30:07 INFO HttpThread: req:3/Ok
2. Verification of functional communication of C-Monitor client on CM portal
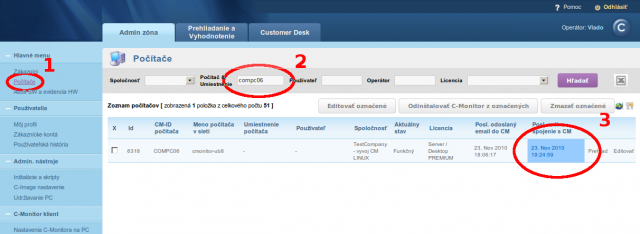
Search the newly-registered computer on CM portal, in the section Admin zone -> Computers -> find it through the upper filter, e.g. by entering the CM-ID which has been generated at the client's registration. For a running computer, the identifier of online connection will be highlighted in blue.
The installation package, as well as the upgrade package, may be downloaded in the section Download.


